Introduction
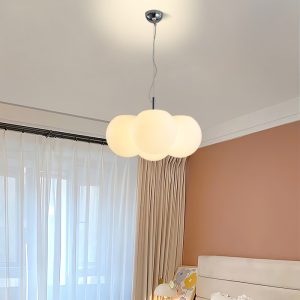
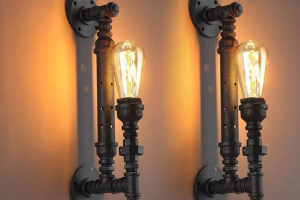
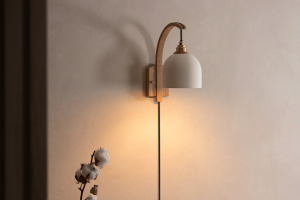
Light fixtures are an essential aspect of home decor, and they are designed to provide not only illumination but also to enhance the overall aesthetics of the space. However, some homeowners may not be aware of the wiring configuration of their light fixtures, leading to confusion and potential hazards. In this article, we will explore the function of the four wires in a light fixture to help homeowners to understand the wiring configuration and the importance of proper installation.
What are the four wires in a light fixture?
Light fixtures typically have four wires: black, white, red, and green. Each wire serves a unique function and must be connected appropriately for the fixture to work correctly and meet safety standards.
Black wire: The black wire is known as the “hot” wire and carries electricity from the circuit breaker to the light fixture. It is typically connected to the black or red wire in the electrical box.
White wire: The white wire is known as the “neutral” wire and completes the electrical circuit. It is connected to the white wire in the electrical box.
Red wire: The red wire is an optional wire and may not always be present. It is typically used for three-way switches to control the light fixture from multiple locations.
Green wire: The green wire is the ground wire and provides a path for electricity to travel back to the electrical box in the event of an electrical fault. It is usually connected to the bare copper wire in the electrical box.
Why is proper wiring important?
Proper wiring is critical to ensure the safe and effective operation of the light fixture. Incorrect wiring can result in electrical shocks, fires, and damage to the fixture.
One common mistake homeowners make is connecting the black and white wires to the wrong terminals. This mistake can result in an electrical short circuit, which can cause a fire.
Another issue is not connecting the green wire to the electrical box’s grounding screw. This omission can cause electrical shocks and damage to the fixture.
How to wire a light fixture safely
If you are installing or replacing a light fixture, it is essential to follow the manufacturer’s instructions carefully. Here’s a step-by-step guide to wiring a light fixture safely:
Step 1: Turn off the power at the circuit breaker.
Step 2: Remove the old fixture and disconnect the wires.
Step 3: Attach the bracket to the electrical box.
Step 4: Connect the green wire to the grounding screw in the electrical box.
Step 5: Connect the black, white, and red wires (if applicable) to the corresponding wires in the electrical box.
Step 6: Secure the fixture to the bracket.
Step 7: Turn the power back on and test the fixture.
Conclusion
In summary, understanding the function of the four wires in a light fixture is crucial for safety and effective operation. Always follow the manufacturer’s instructions carefully and consult a licensed electrician if you have any doubts about the installation. Proper wiring will ensure that your light fixtures provide the optimal illumination that complements your home decor.