Introduction
Are you tired of your plain old ceiling light? Want to add a unique touch to your space without breaking the bank? Look no further than the world of paper mache. With just a few materials and some creativity, you can create a stunning paper mache ceiling light that is sure to impress.
Materials
Before you get started, it is important to gather all the necessary materials. Here’s what you will need:
- Balloons
- Newspaper
- Flour
- Water
- Paint (optional)
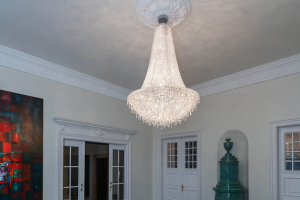
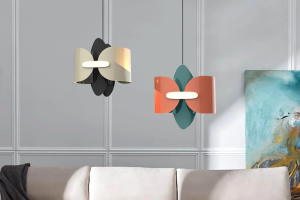
- Light fixture
Choosing the Right Balloons
The first step in making your paper mache ceiling light is choosing the right balloons. You can use any size balloon, depending on the size of light fixture you want to create. Keep in mind that the bigger the balloon, the bigger the light fixture will be.
Making the Paper Mache Paste
To make the paste, combine equal parts flour and water in a bowl. Mix until there are no lumps and you have a smooth consistency. This paste will be used to adhere the newspaper to the balloons.
Building the Light Fixture
Now that you have your balloons and paste ready, it’s time to start building your light fixture.
Inflating the Balloons
Start by inflating your balloons to your desired size. Be sure to tie the balloons tightly, and consider using a balloon pump to make the process easier.
Applying the Paper Mache
Next, cut the newspaper into long strips, about 1-2 inches wide. Dip each strip into the paste, making sure it is coated entirely. Apply the strip to the balloon, smoothing out any bubbles or wrinkles as you go. Continue layering the strips until the entire balloon is covered. Leave a small area uncovered at the bottom where the light fixture will be installed.
Drying the Paper Mache
Once the balloon is covered in newspaper and paste, let it dry completely. This can take several hours or even overnight, depending on the size of the balloon and the humidity of your environment.
Repeat the Process
Repeat the process of applying the paper mache and allowing it to dry until you have achieved the desired thickness and shape for your light fixture.
Painting (Optional)
If you want to add some color or design to your light fixture, you can paint it once the paper mache is completely dry. Use acrylic paint, and allow the paint to dry completely before installing the light fixture.
Installing the Light Fixture
Cutting the Hole
Use a sharp craft knife to cut a small hole in the bottom of the paper mache where the light fixture will be installed. Be sure to measure the hole to fit the size of your light fixture.
Installing the Light Fixture
Push the light fixture through the hole and attach it to the ceiling. Be sure to follow the manufacturer’s instructions for installation.